The Amplify Series, Part 5: Uploading and retrieving images with Amplify Storage
With our application in place, it is now time to start adding more functionality using some of the other Amplify categories. In this article, we will be adding Amplify Storage to upload and retrieve images from AWS in just a few steps.
We will start off by adding the Amplify Storage category to our project. We will follow up by using the Storage component to be able to upload and list all of our images. Finally, we will create some UI that will make use of this functionality. At the end of this article, you will have a better understanding of Amplify Storage and can use it in any scenario regarding file uploads and retrieval.
Adding Amplify Storage to our project
We will continue in the repository where we left off in the last blog post. From this point, we will run amplify add storage with the following options:
- Service: content.
- Friendly name: amplifyappimages.
- Bucket name: amplifyappimages
- Access: create, update, read, and delete, for authorized users only.
The Amplify CLI output will look similar to this:
Evertsons-MBP:theamplifyapp evertsoncroes$ amplify add storage

? Select from one of the below mentioned services: Content (Images, audio, video, etc.)

✔ Provide a friendly name for your resource that will be used to label this category in the project: · amplifyappimages

✔ Provide bucket name: · amplifyappimages

✔ Who should have access: · Auth users only

✔ What kind of access do you want for Authenticated users? · create/update, read, delete

✔ Do you want to add a Lambda Trigger for your S3 Bucket? (y/N) · no

✅ Successfully added resource amplifyappimages locally

⚠️ If a user is part of a user pool group, run "amplify update storage" to enable IAM group policies for CRUD operations
✅ Some next steps:
"amplify push" builds all of your local backend resources and provisions them in the cloud

"amplify publish" builds all of your local backend and front-end resources (if you added hosting category) and provisions them in the cloud
We want users to be able to only see their own uploads. Therefore it is important that we select that only authenticated users can make use of this resource and that we give them all permissions so that they can upload, view and delete images. This is yet another useful example of how the Amplify Auth category automatically links with other categories to provide authentication and authorization functionality.
This command adds some changes to our repo. In the next step, we will start using the new category.
We will separate this functionality into three components:
- Image uploader: A component responsible for uploading the image and giving the user feedback about the upload.
- Image album: A component responsible for listing all uploaded images.
- Image viewer: A component that will show only one image in a modal.
Adding an image overview page
We will first start by adding a new Angular component that will be used to show all images our users have uploaded::
ng generate component components/categories/storageThis will generate the expected files for our component. We will then link up routing to be able to render this component. This is all pretty standard Angular stuff that we have done in the previous blog, please refer to this commit for details.
Adding image upload functionality
We will now add a component that will contain the functionality to upload an image:
ng generate component components/categories/storage/image-uploadThis will generate the expected Angular files. Inside our storage.component.html we will make sure to add the newly generated image-upload:
<app-image-upload></app-image-upload>
Inside the image-upload.component.html, we will add:
<input
  type="file"
  id="imageUpload"
  name="imageUpload"
  accept="image/png, image/jpeg"
  (change)="imageSelected($event)"
/>
This will give us an input that we can use to select images from our device. We have to add logic to react to whenever a user selects an image in our image-upload.component.ts:
import { Component, OnInit } from '@angular/core';

@Component({
  selector: 'app-image-upload',
  templateUrl: './image-upload.component.html',
  styleUrls: ['./image-upload.component.css']
})
export class ImageUploadComponent implements OnInit {
  selectedFile: File | undefined = undefined;

  constructor() {}

  ngOnInit(): void {}

  imageSelected = (e: Event) => {
    const input = e.target as HTMLInputElement;

    if (!input.files?.length) {
      return;
    }

    this.selectedFile = input.files[0];
  };
}
With this change we set the variable selectedFile to contain the contents of the file we selected. Now that we have this, we can add an upload button that uploads the selected image to the AWS cloud, which we previously configured.
We will start off by adding a button in image-upload.component.html:
<input
  type="file"
  id="imageUpload"
  name="imageUpload"
  accept="image/png, image/jpeg"
  (change)="imageSelected($event)"
/>

<button class="aws-button" (click)="uploadImage()"> <!---NEW!-->
  Upload
</button>
Once this button is clicked the uploadImage function is called. We will define this function in the following way in our image-upload.component.ts:
import { Component, OnInit } from '@angular/core';
import { Storage } from 'aws-amplify'; // <--- add this

@Component({
  selector: 'app-image-upload',
  templateUrl: './image-upload.component.html',
  styleUrls: ['./image-upload.component.css']
})
export class ImageUploadComponent implements OnInit {
  selectedFile: File | undefined = undefined;

  constructor() {}

  ngOnInit(): void {}

  //Add this function!
  uploadImage = async () => {
    if (!this.selectedFile) {
      return;
    }
    try {
      await Storage.put(this.selectedFile.name, this.selectedFile, {
        contentType: 'image/*',
        level: 'private'
      });
    } catch (error) {
      console.log('Error uploading file: ', error);
    }
  };

  //other code
}
We first import the Storage component from aws-amplify. We then define the uploadImage function that is used by our new button. This function uses the Amplify Storage component and calls the put method, which gets the file name, the file contents, and some properties.
In this case, the options include the type of file we want to accept and the authorization level. Setting the level to private means that only the user that uploaded this image will have access to it.
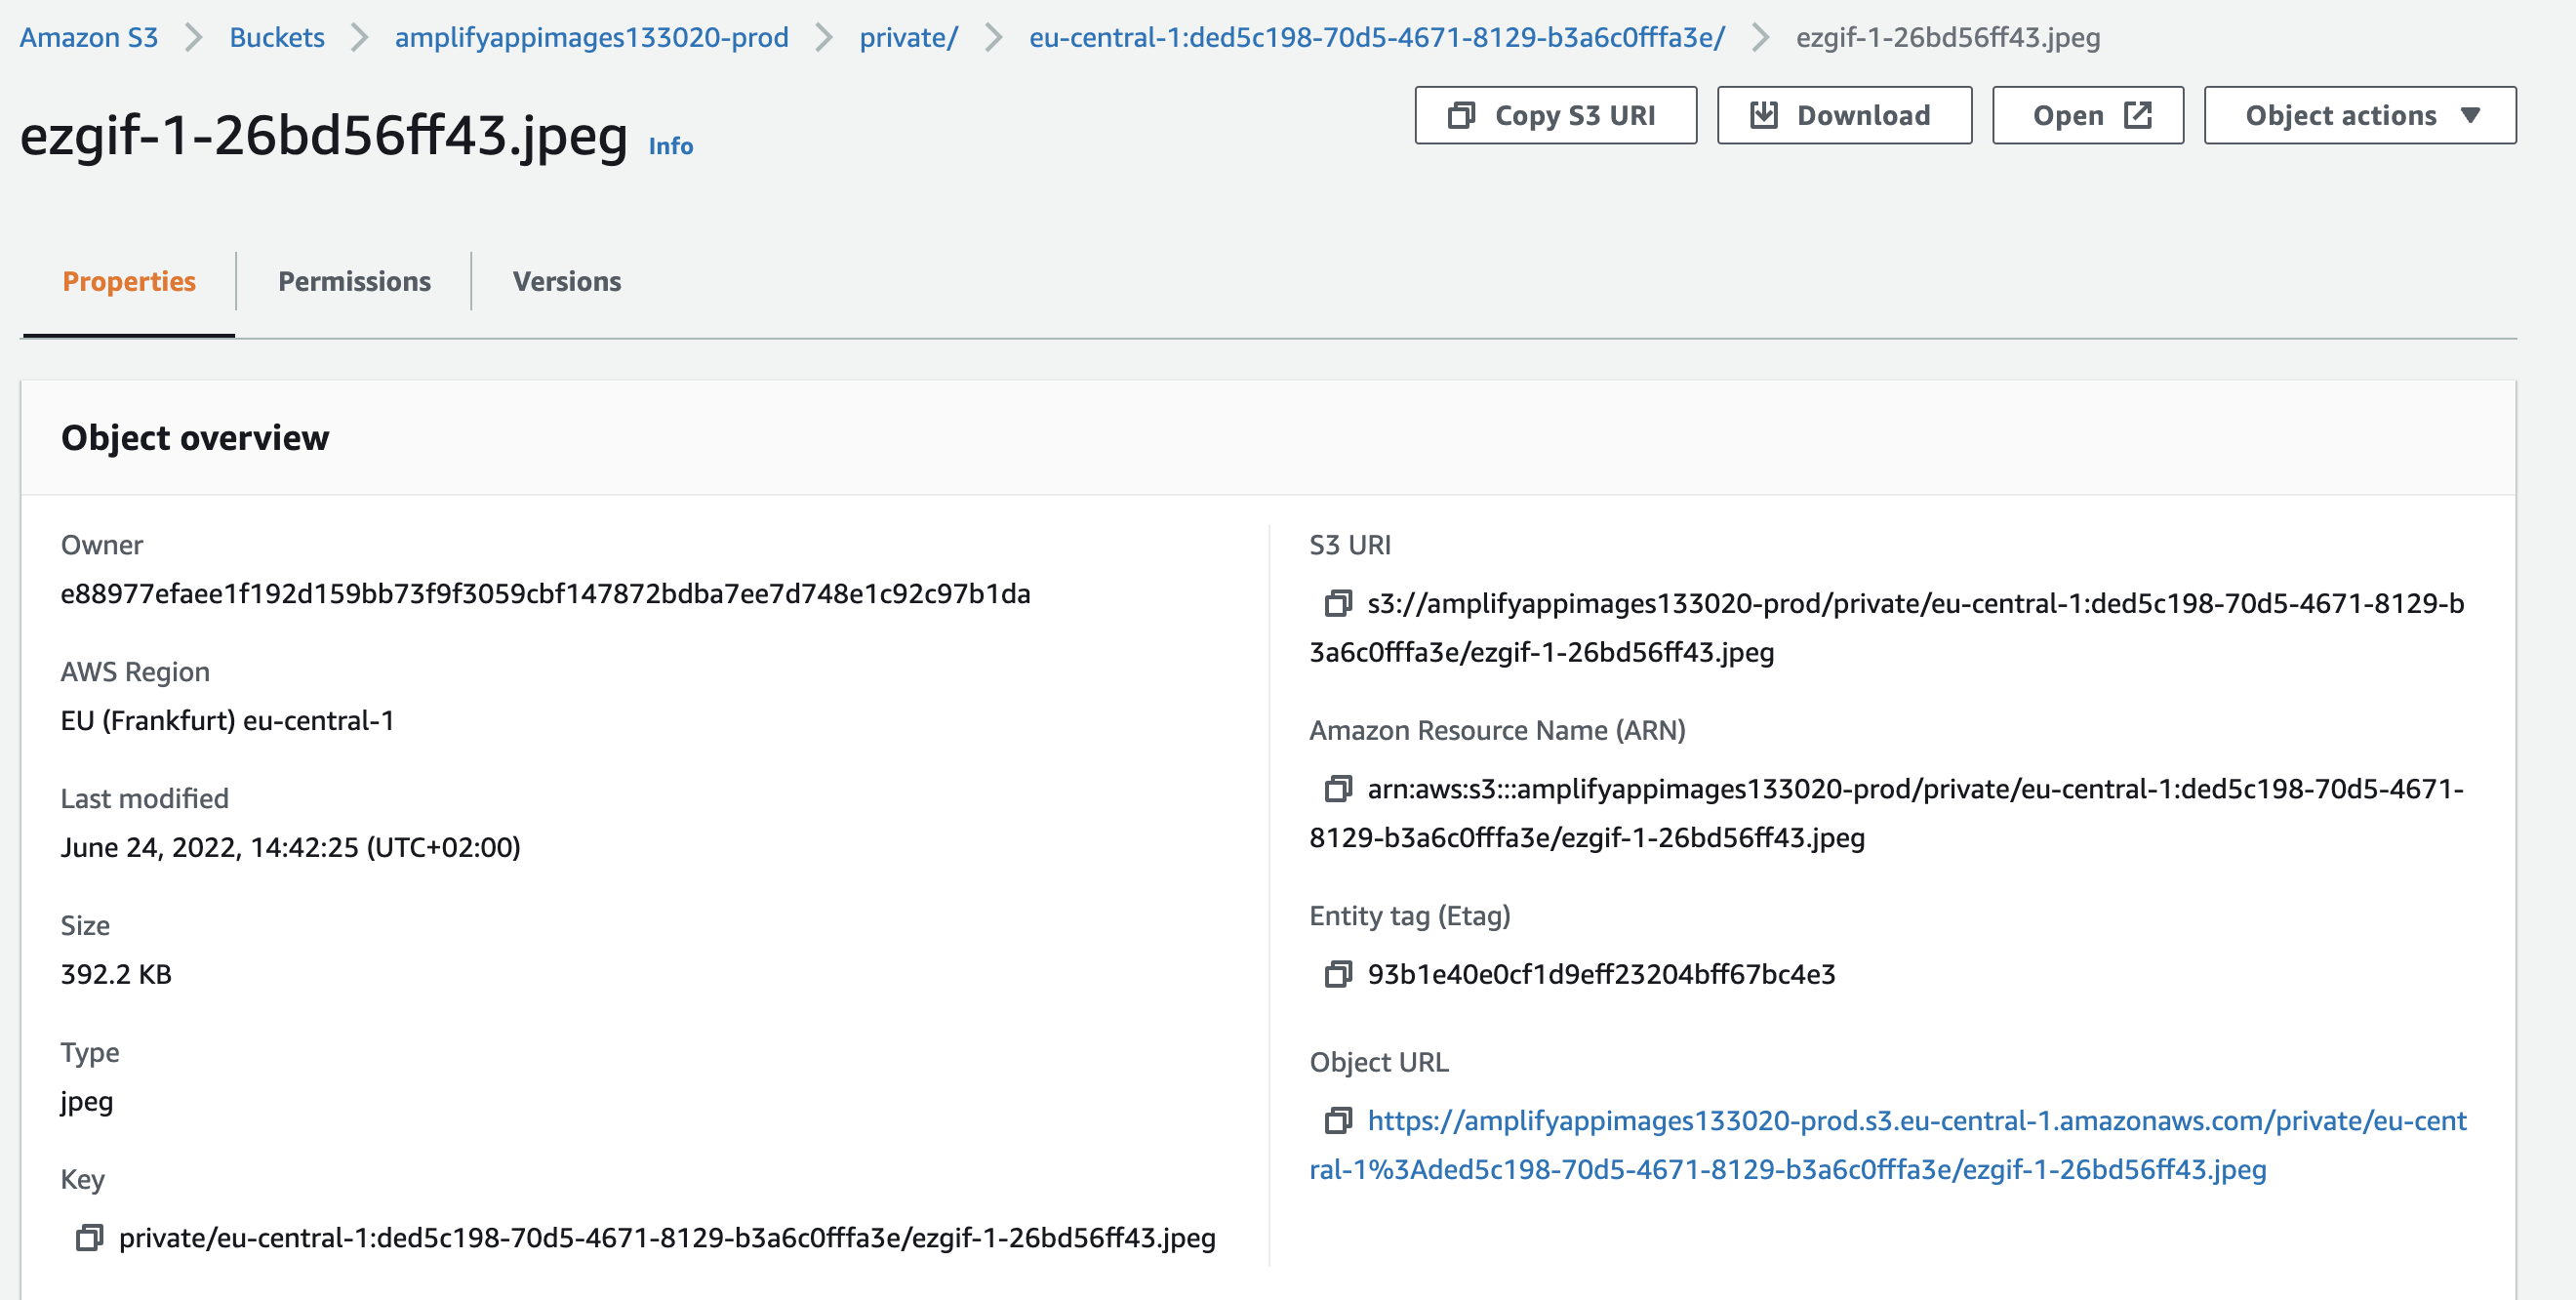
Once we have this in place we can select an image with our input and upload it using the new button. While we don’t see any feedback yet, if we go into our AWS console to S3 and search for our bucket, we should see that there is a new directory called “private” which contains a directory with the cognitoID of the user we used to upload the image. Inside this directory we can see the image that was uploaded:
Adding file upload progress feedback
In this step we want to show the user some feedback about the image upload process. We will start by adding an enum for the possible upload states and will set a variable in our component to have the correct state given the situation of the upload process. On our UI we will then show some text based on this state.
We will first make these changes to our image-upload.component.ts:
import { Component, OnInit } from '@angular/core';
import { Storage } from 'aws-amplify';

//Add this!
enum UploadState {
  IDLE,
  UPLOADING,
  UPLOAD_COMPLETE,
  ERROR
}

@Component({
  selector: 'app-image-upload',
  templateUrl: './image-upload.component.html',
  styleUrls: ['./image-upload.component.css']
})
export class ImageUploadComponent implements OnInit {
  selectedFile: File | undefined = undefined;
  //Add these 3:
  uploadStates = UploadState;
  uploadState: UploadState = UploadState.IDLE;
  progressText: string = '';

  constructor() {}

  ngOnInit(): void {}

  uploadImage = async () => {
    this.uploadState = UploadState.UPLOADING; // <--- Add this
    if (!this.selectedFile) {
      return;
    }
    try {
      await Storage.put(this.selectedFile.name, this.selectedFile, {
        contentType: 'image/*',
        level: 'private',
        progressCallback: this.progressCallback // <---- Add this
      });
      this.uploadState = UploadState.UPLOAD_COMPLETE; // <--- Add this
    } catch (error) {
      this.uploadState = UploadState.ERROR; // <---- Add this
      console.log('Error uploading file: ', error);
    }
  };

  //Add this function!
  progressCallback = (progress: any) => {
    this.progressText = `Uploaded: ${(progress.loaded / progress.total) *
      100} %`;
  };

  imageSelected = (e: Event) => {
    this.uploadState = UploadState.IDLE; // <---- Add this
    const input = e.target as HTMLInputElement;

    if (!input.files?.length) {
      return;
    }

    this.selectedFile = input.files[0];
  };
}
The upload state will start in IDLE, switch to UPLOADING and will either go into UPLOADING_COMPLETE or ERROR depending on how the call to Amplify Storage goes. The Storage.put function also allows for the definition of a progressCallback function in order to track the progress of the upload.
Once these are set in place, we add the following to our image-upload.component.html to be able to see the feedback:
<!---Existing code-->

<p
  *ngIf="
    uploadState === uploadStates.UPLOADING ||
    uploadState === uploadStates.UPLOAD_COMPLETE
  "
>
  {{ progressText }}
</p>
<p *ngIf="uploadState === uploadStates.UPLOAD_COMPLETE">
  Upload complete!
</p>

<p class="error-text" *ngIf="uploadState === uploadStates.ERROR">
  Something went wrong with the file upload
</p>
We will now get some feedback when uploading images.
The complete set of changes for this step can be found in this commit.
Adding an image overview
Now that we can upload images, we want to view all our uploaded images. We start by creating an image-album component:
ng generate component components/categories/storage/image-albumNow we are going to update the image-album.component.ts to contain logic to get all of the images for our user:
import { Component, OnInit } from '@angular/core';
import { Storage } from 'aws-amplify';
export interface Image {
key: string;
url: string;
}
@Component({
selector: 'app-image-album',
templateUrl: './image-album.component.html',
styleUrls: ['./image-album.component.css']
})
export class ImageAlbumComponent implements OnInit {
images: Image[] = [];
constructor() {}
ngOnInit(): void {
this.getAllImages();
}
getAllImages = () => {
Storage.list('', { level: 'private' })
.then(result => {
result.forEach(async imageObject => {
const objectKey = imageObject.key;
if (objectKey !== undefined) {
const signedURL = await Storage.get(objectKey, {
level: 'private',
download: false
});
this.images.push({ key: objectKey, url: signedURL });
}
});
})
.catch(err => console.log(err));
};
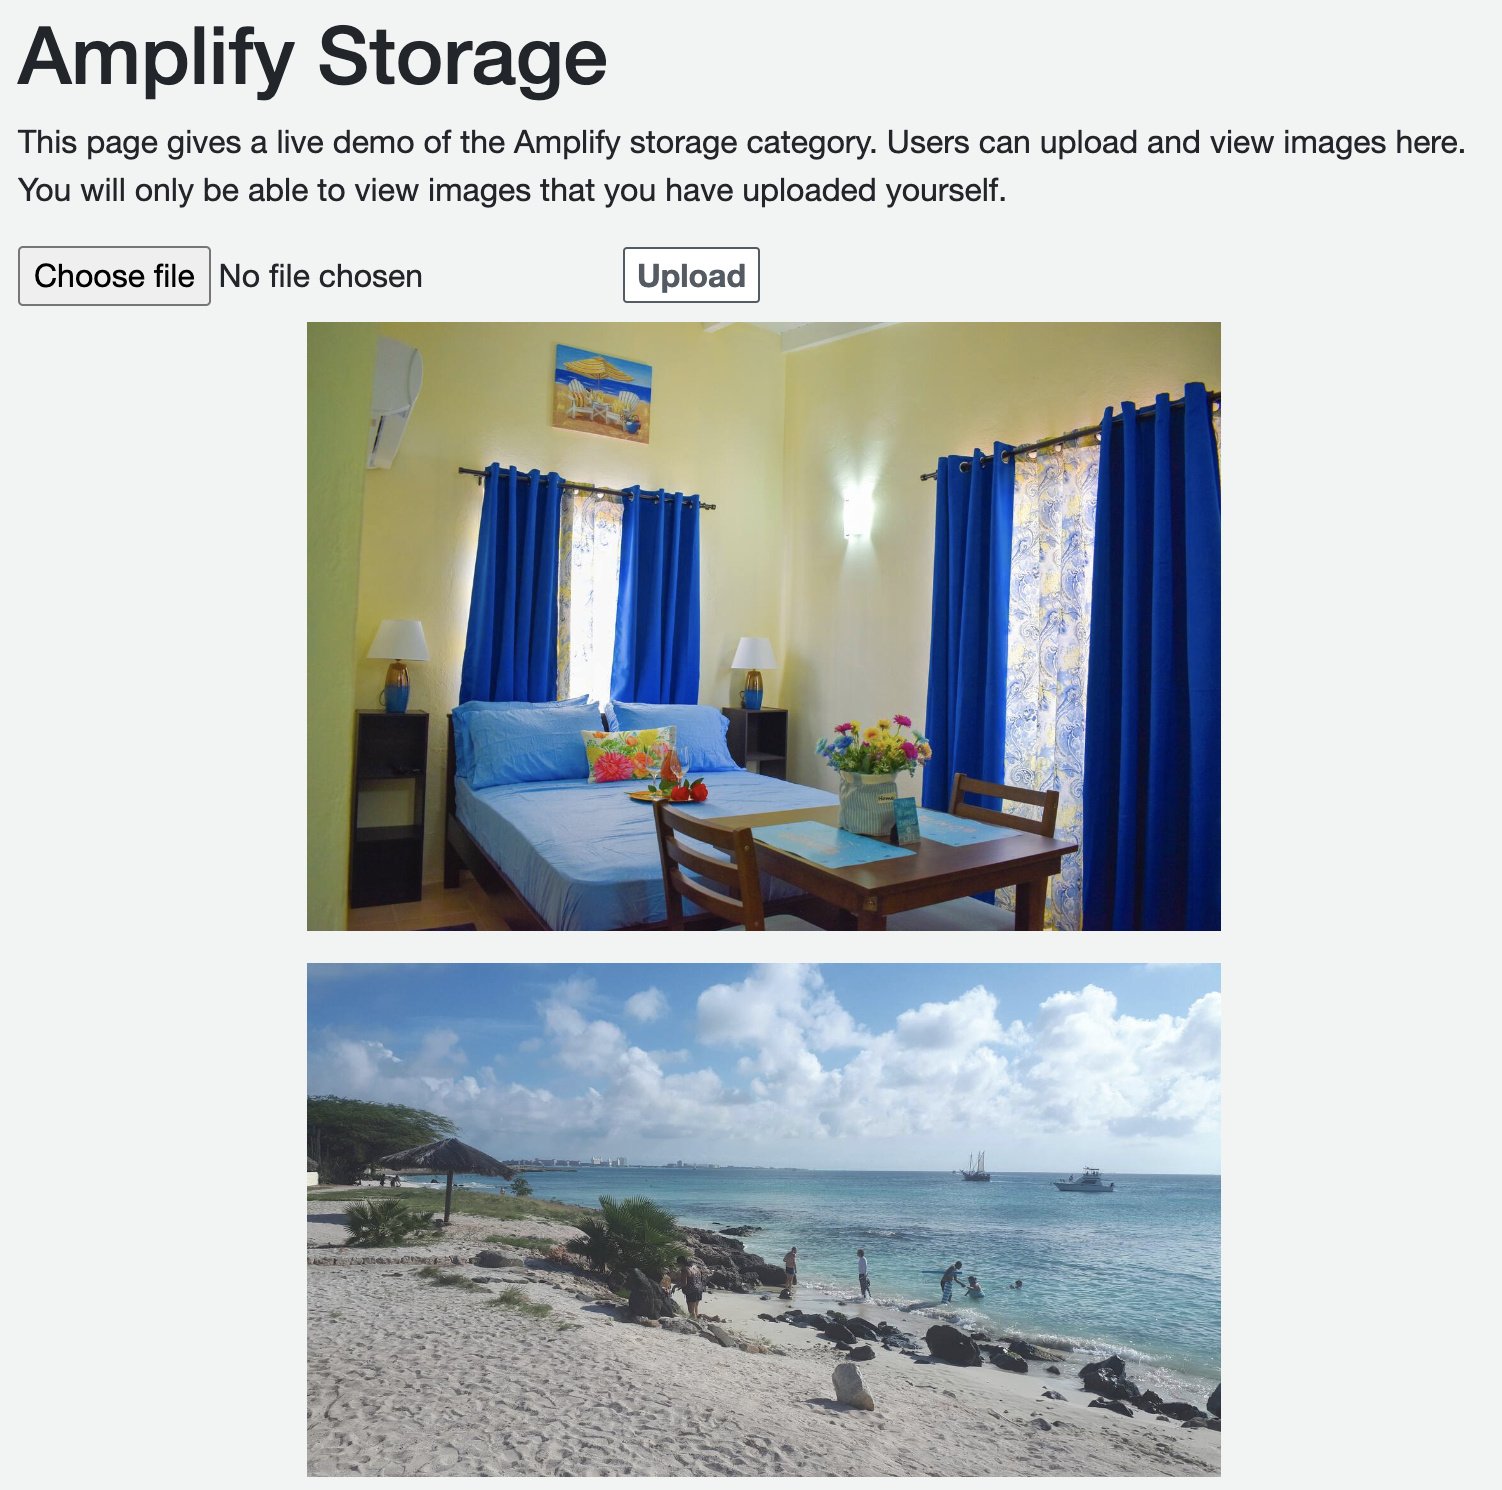
}Some important things to note here is to set the levels to private in both the Storage.list and Storage.get functions. The reason we need to use two functions is because the Storage.list only gives us some information about the objects, such as the unique key in S3. However it does not give use a URL with which we can actually view the object.
For this we need a signed URL. Because we are logged in and we call the Storage.get function with the private level, the Amplify Storage component will check which user is logged in and verify that this user may view this object and create a signed url.
We also created an Image interface which we will use to contain the image key and signed url retrieved from S3. We will store these in an array on the component and loop through these to show the images in image-album.component.html:
<div class="container">
  <div class="row" *ngFor="let image of images">
    <div class="col-lg-2"></div>
    <div class="col-lg-8">
      <img class="album-image" src="{{ image.url }}" />
    </div>
    <div class="col-lg-2"></div>
  </div>
</div>
This simply loops through the imageUrls and shows an image for each. We also add a bit of styling to add the width and a bit of margin in our image-album.component.css:
.album-image {
  width: 100%;
  margin: 8px;
}
This results in the images being viewed on the page like this:
For all the code changes, including the wiring the new component, see this commit.
Adding image removal functionality
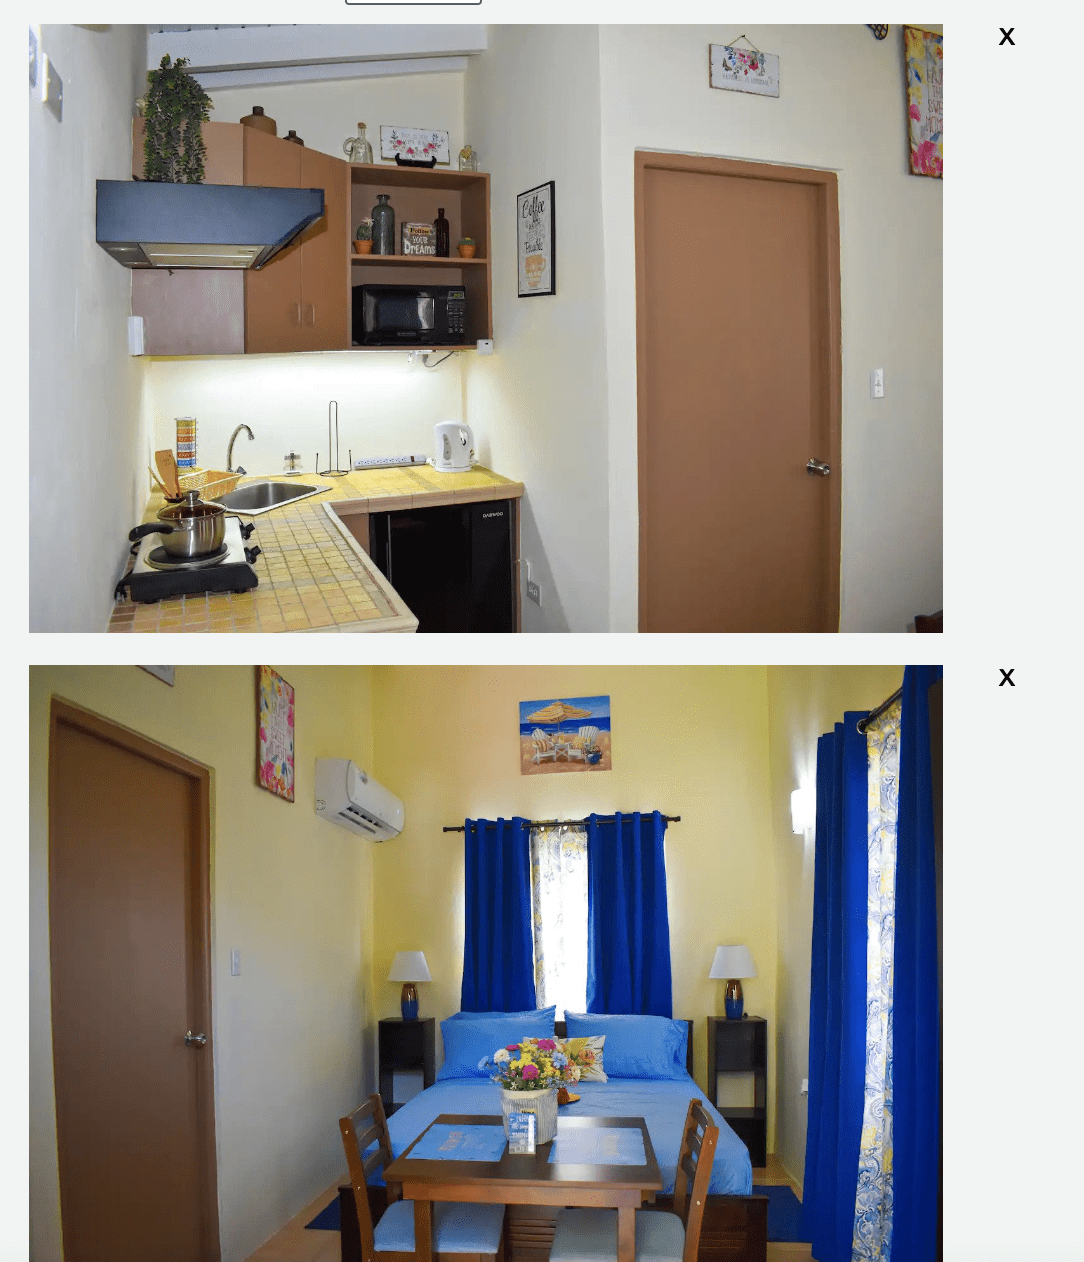
In this section we are going to add a button to remove images that we have uploaded. We will first add a removeImage function in our image-album.component.ts:
removeImage = async (key: string) => {
    await Storage.remove(key, { level: 'private' });
    this.images = [];
    this.getAllImages();
  };
We reassign the images array here to force Angular to rerender the image-album component so that we can see that our image as indeed been removed. We then update our image-album.component.html to contain an “x” button for removal next to each image:
<div class="container">
  <div class="row" *ngFor="let image of images">
    <div class="col-lg-2"></div>
    <div class="col-lg-8">
      <img class="album-image" src="{{ image.url }}" />
    </div>
    <div class="col-lg-2"> <!--NEW! -->
      <button class="remove-image-button" (click)="removeImage(image.key)">
        x
      </button>
    </div>
  </div>
</div>
And we add a bit of styling to the button:
.remove-image-button {
  border: 0px;
  background: transparent;
}
And now we have a button that allows us to remove images, which will look something like this:
As always, the changes for this step can be found in this commit.
Setting the maximum number of uploads per user
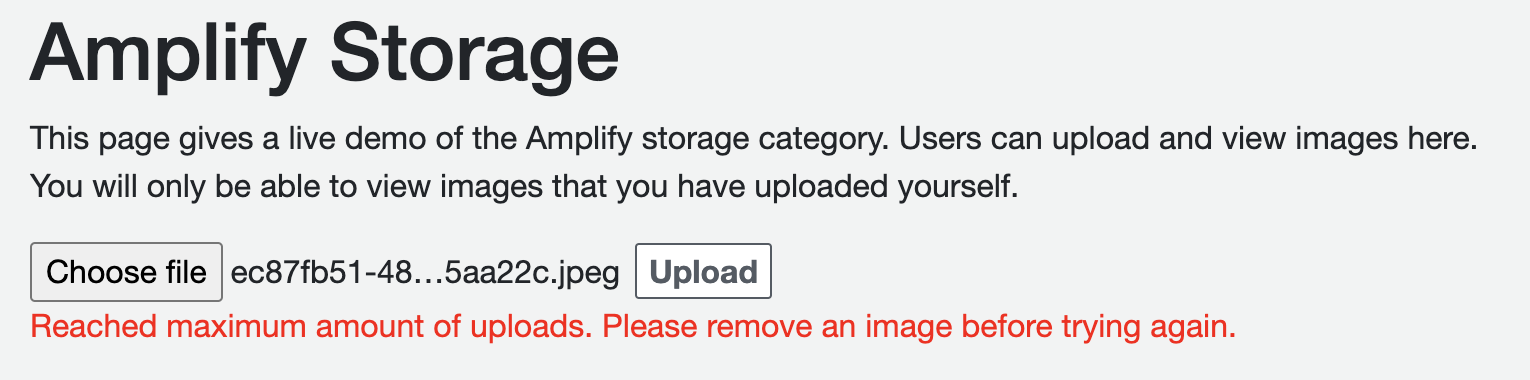
The final step we want to add for our image upload is to add a maximum number of images per user so that a user does not flood our S3 buckets. We don’t have a property for this in the Amplify Storage component, so we need to build this ourselves. Also, note that the solution here is only a frontend check, there is no actual check on the bucket itself per user.
We make the following changes to our image-upload.component.ts:
import { Component, OnInit } from '@angular/core';
import { Storage } from 'aws-amplify';

const MAX_NUMBER_OF_IMAGES_PER_USER: number = 10;

enum UploadState {
  IDLE,
  UPLOADING,
  UPLOAD_COMPLETE,
  ERROR,
  MAX_REACHED // <--- add this!
}

@Component({
  selector: 'app-image-upload',
  templateUrl: './image-upload.component.html',
  styleUrls: ['./image-upload.component.css']
})
export class ImageUploadComponent implements OnInit {
  //Existing code...

  uploadImage = async () => {
    this.uploadState = UploadState.UPLOADING;
    if (!this.selectedFile) {
      return;
    }
    try {
      //Add this part!
      const userImages = await Storage.list('', { level: 'private' });
      if (userImages.length >= MAX_NUMBER_OF_IMAGES_PER_USER) {
        this.uploadState = UploadState.MAX_REACHED;
        return;
      }

     //Existing code...
    } catch (error) {
      //Existing code ...
    }
  };

  //Existing code...
}
We first add a new state called MAX_REACHED which we will set when this is the case. Inside the uploadImage function we will add a new check where we will first list the objects of the user and check if the length is equal or greater than the max. If this is the case we set the upload state to MAX_REACHED and stop the upload.
In our image-upload.component.html, we add a new error message that is shown in this upload state:
<!---Existing code...-->

<p class="error-text" *ngIf="uploadState === uploadStates.MAX_REACHED">
  Reached maximum amount of uploads. Please remove an image before trying again.
</p>
Now when we try to add the 11th image, we get the following message:
Changes for this step can be found here.
Up next: AI and ML with Amplify Predictions
In this blog, we have used the Amplify Storage category to update our existing application to contain image upload, viewing, and removal functionality per user. In the next article, we will look at using the power of AI and Machine Learning with Amplify Predictions.