
A practical walkthrough for parsing PDFs and chatting about their content
Parsing PDFs with tables, images, and mixed layouts is still surprisingly hard. At the same time, chatting with AI agents about your own documents is becoming a standard expectation. In this blog, we’ll build a small application that can parse real‑world PDFs into structured sections and tables, and then let you ask questions about specific parts or the entire document. The solution uses Spring AI Agents for the conversational flow and Docling, exposed as an MCP server, for PDF parsing.
Introducing Docling
Docling is a Python project that simplifies document processing. It can parse multiple formats, including PDFs. With close to 50k stars on GitHub, it is a popular choice. You can embed it as a library in your project, but you can also run it as a service. The service is interesting because it includes a feature that exposes it as an MCP server. You can run the server using uvx, a common approach for local MCP servers. Another approach is to run it as a Docker container and connect it through streamable‑http.
To give you an idea about what is possible, let’s parse a basic PDF. If you check out the project, you can find the PDF in the documents folder.
But first, we need to install Docling. The following commands create a Python virtual environment and install Docling. Beware: it comes with many dependencies.
python3 -m venv .venv
.venv/bin/pip install --upgrade pip
.venv/bin/pip install docling
source .venv/bin/activate

# convert a PDF into a JSON representation
docling --to json --output "./data/" ./documents/about-jettro.pdf
The resulting JSON document is also in the repository. It is also possible to extract a Markdown file. What I like about the JSON document is that the structure remains intact. You still know where all the text items, tables and pictures are in the document. That way, you can ask for the text right above an image and hope to find an explanation of that image. If you look at the JSON document, you see the different elements on the page. Below is just a small example from the output.
{
  "self_ref": "#/texts/13",
  "parent": {
    "$ref": "#/body"
  },
  "children": [],
  "content_layer": "body",
  "label": "text",
  "prov": [
    {
      "page_no": 1,
      "bbox": {
        "l": 264.469,
        "t": 801.500975078124,
        "r": 316.768,
        "b": 792.924975078124,
        "coord_origin": "BOTTOMLEFT"
      },
      "charspan": [0,11]
    }
  ],
  "orig": "Open in app",
  "text": "Open in app"
}
Note that the extract includes exact coordinates for both the content and the extracted text.
You can use plugins to chunk large pieces of text into smaller pieces, ready for vectorising and semantic search. You can also use tools to extract knowledge from images.
If you are more into Java, there is a Java API for interacting with Docling.
Running Docling service on Docker
Below is the docker‑compose.yml file to start Docling as a Docker container. The compose file has the documents folder as a volume mapped to the /data path. This path is essential for providing files to Docling for transformation into Markdown or JSON. The command shows that we expose streamable‑http.
version: '3.8'

services:
  docling:
    image: quay.io/docling-project/docling-serve
    container_name: docling-mcp-server
    ports:
      - "8000:8000"
    volumes:
      # Mount a local directory to /data in the container
      # Change ./documents to your preferred local path
      - ./documents:/data
    restart: unless-stopped
    command: |
      docling-mcp-server --transport streamable-http --port 8000 --host 0.0.0.0
    environment:
      # Add any environment variables the Docling server might need
      - LOG_LEVEL=INFO
Docling Documentation
You can learn more about Docling at their official website. Documentation
Introducing Spring AI
If you are a regular reader of my blog, I don’t think I have to introduce Spring AI to you. Many people believe that Python is the only language for creating innovative applications. Although I like Python, I still prefer to write Java when building production‑grade enterprise applications. I think it was Rod Johnson who presented his vision about innovative applications on the JVM. We do not need a green application next to our existing applications. We can incorporate smart features in our existing Java applications. With frameworks like Spring AI and Embabel, we can write smart features for applications that work with live production data.
What is even better is to combine popular Python applications as MCP tools with our Java‑based Agents. Spring AI is a good bridge between those MCP servers and our applications.
The sample application is built using Maven. Spring AI supports Spring Boot and provides different starter dependencies. Most starters work with a configuration that is automatically loaded. You can prevent a configuration from being loaded, which we will need later on when we discuss the integration of Spring AI with Docling.
For the application, you need a starter for the MCP client, one for the LLM (Ollama or OpenAI), and one for the web‑based backend.
<dependency>
  <groupId>org.springframework.ai</groupId>
  <artifactId>spring-ai-starter-mcp-client</artifactId>
</dependency>

<dependency>
  <groupId>org.springframework.ai</groupId>
  <artifactId>spring-ai-starter-model-openai</artifactId>
</dependency>

<dependency>
  <groupId>org.springframework.boot</groupId>
  <artifactId>spring-boot-starter-web</artifactId>
</dependency>
A typical interaction with an LLM by Spring AI looks like the following code block.
@PostMapping("/ai")
public String ai(@RequestBody UserInput userInput, HttpSession session) {
    String userName = userInput.userName();

    ToolCallback[] toolCallbacks = this.toolCallbackProvider.getToolCallbacks();

    return chatClient.prompt()
            .system(SYSTEM_PROMPT)
            .user(userInput.input())
            .advisors(MessageChatMemoryAdvisor.builder(chatMemory)
                    .conversationId(userName).build())
            .toolCallbacks(toolCallbacks)
            .call()
            .content();
}
The toolCallbackProvider is created from McpSyncClient instances, which are injected by the Spring framework and initialised by the auto‑configuration. The same goes for chatMemory; the auto‑configuration sets a default.
Another vital component for Spring configuration is the application.yaml file. This file is loaded from the classpath. It contains essential configuration for some components. One of those components is the connection to OpenAI. Below is the configuration for the model and API key. The API key is read from an environment variable.
spring:
  application:
    name: spring-ai-docling
  ai:
    openai:
      api-key: ${OPENAI_API_KEY}
      chat:
        options:
          model: gpt-5.1
Note that we use the latest and greatest OpenAI model, gpt‑5.1.
Connecting Docling and Spring AI
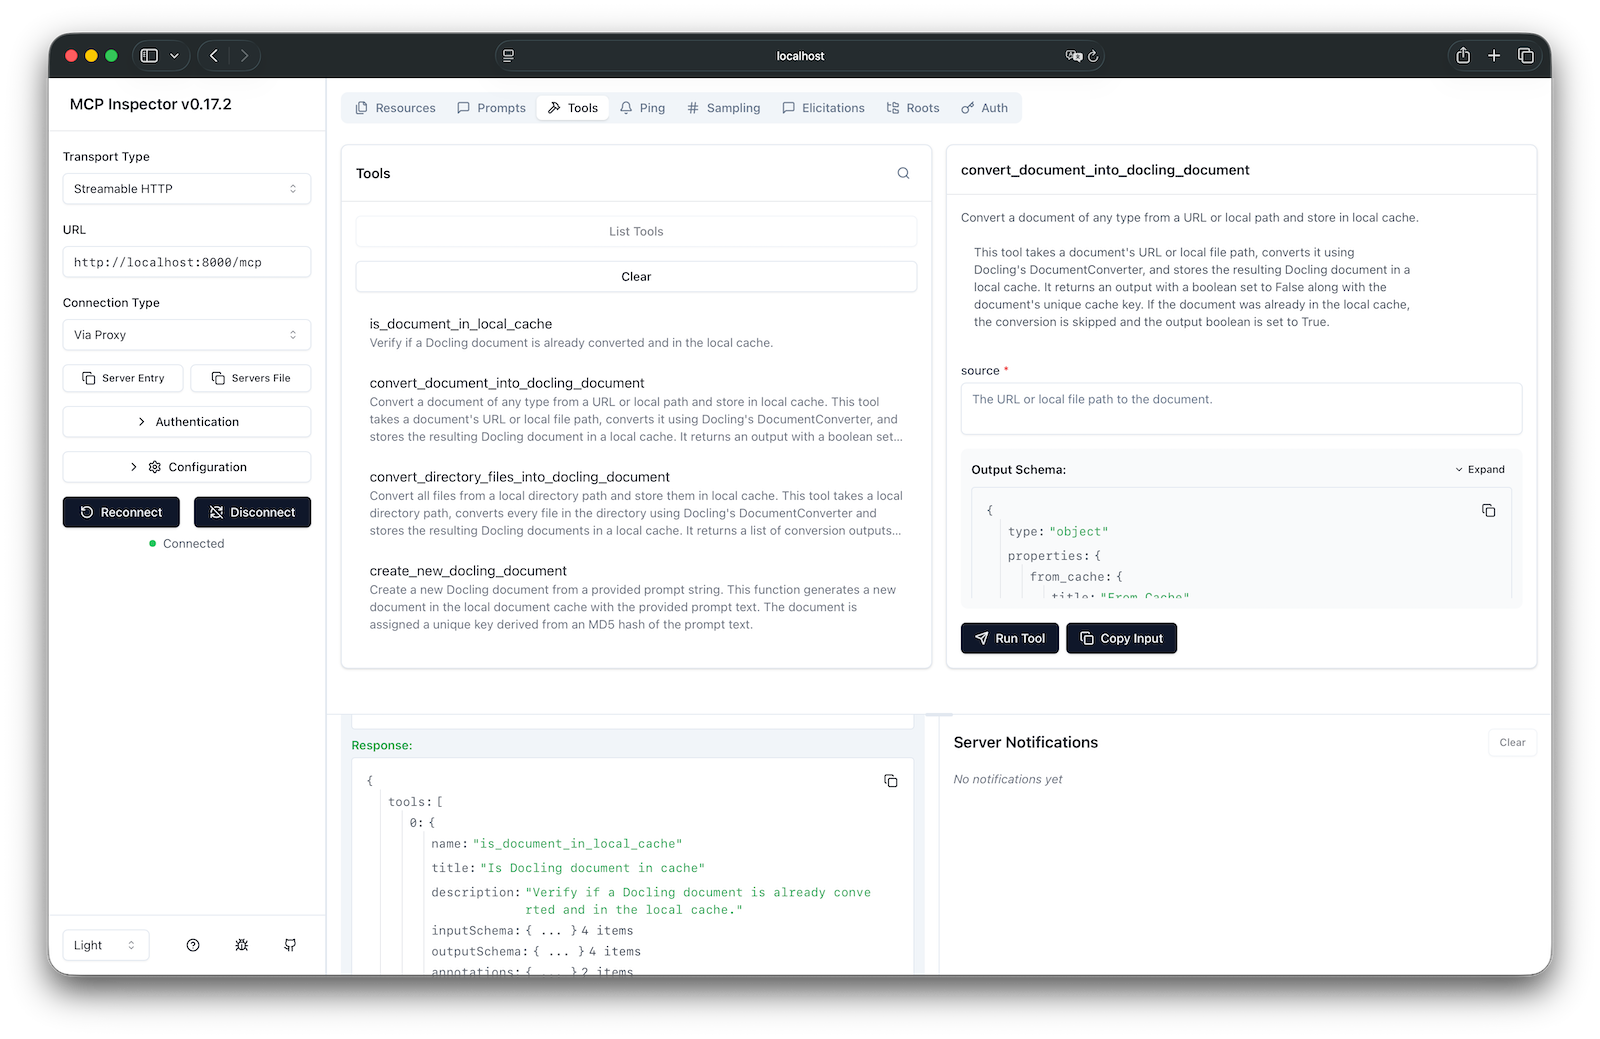
At the moment, we have Docling running as an MCP server through Docker. One way to inspect the available tools is to use the MCP Inspector. The following command runs the inspector. Below is a screenshot from the inspector.
npx @modelcontextprotocol/inspector
In theory, the connection is established through Auto Configuration and a few properties. The part of the application.yaml that configures the MCP connection is as follows:
spring:
  ai:
    mcp:
      client:
        type: SYNC
        initialized: false
        streamable-http:
          connections:
            docling:
              url: http://localhost:8000
              endpoint: /mcp
Note that the initialisation is false. At one point, there was a race condition, so we had to initialise manually. The advantage is that we can print all the available tools when starting the application.
public AiController(ChatClient.Builder chatClientBuilder,
                    List<McpSyncClient> mcpSyncClients,
                    ChatMemory chatMemory) {
    this.chatClient = chatClientBuilder.build();
    this.chatMemory = chatMemory;

    // Initialize MCP clients
    mcpSyncClients.forEach(McpSyncClient::initialize);

    if (logger.isTraceEnabled()) {
        mcpSyncClients.forEach(client -> {
            client.listTools().tools().forEach(tool -> {
                logger.trace("MCP Client Tool Loaded: {} - {}", tool.name(), tool.description());
            });
        });
    }

    this.toolCallbackProvider = SyncMcpToolCallbackProvider.builder()
            .mcpClients(mcpSyncClients)
            .build();
}
Now you have all the parts to start the application, and run into some problems. The following sections discuss the issues I encountered while running the application.
Configure request timeout
Some of the tools from Docling take longer. Therefore, we needed a longer timeout for the client to wait for a response. Spring AI facilitates the customisation of the McpSyncClient through the McpSyncClientCustomizer.
@Component
public class CustomMcpSyncClientCustomizer implements McpSyncClientCustomizer {
    @Override
    public void customize(String name, McpClient.SyncSpec spec) {
        spec.requestTimeout(Duration.ofMinutes(2));
    }
}
HTTP client version
This problem took longer to figure out. After some investigation, I found that the MCP server only supports HTTP 1.1. I got a warning that I couldn’t upgrade the connection. After a lot of debugging, I discovered that the auto‑configuration streamableHttpHttpClientTransports replaces the default 1.1 with a version 2 connection. Therefore, we needed to override the auto‑configuration. There are two steps to take:
- Disable or exclude the auto‑configuration for this specific class.
- Add the class with a slight improvement.
spring:
  application:
    name: spring-ai-docling
  autoconfigure:
    exclude:
      - org.springframework.ai.mcp.client.httpclient.autoconfigure.StreamableHttpHttpClientTransportAutoConfiguration
Now, copy the contents of that class into a new class and change this part. Note the clientBuilder.
HttpClientStreamableHttpTransport.Builder transportBuilder =
    HttpClientStreamableHttpTransport.builder(baseUrl)
        .endpoint(streamableHttpEndpoint)
        .clientBuilder(HttpClient.newBuilder().version(HttpClient.Version.HTTP_1_1))
        .jsonMapper(new JacksonMcpJsonMapper(objectMapper));
Choosing your LLM
I wanted to try a local LLM to make this work. It turns out that Mistral did not understand the tools. It did not call the tools, but provided some Python code to call Docling. I switched to OpenAI, but I had to configure the latest and greatest gpt‑5.1 model to make it work.
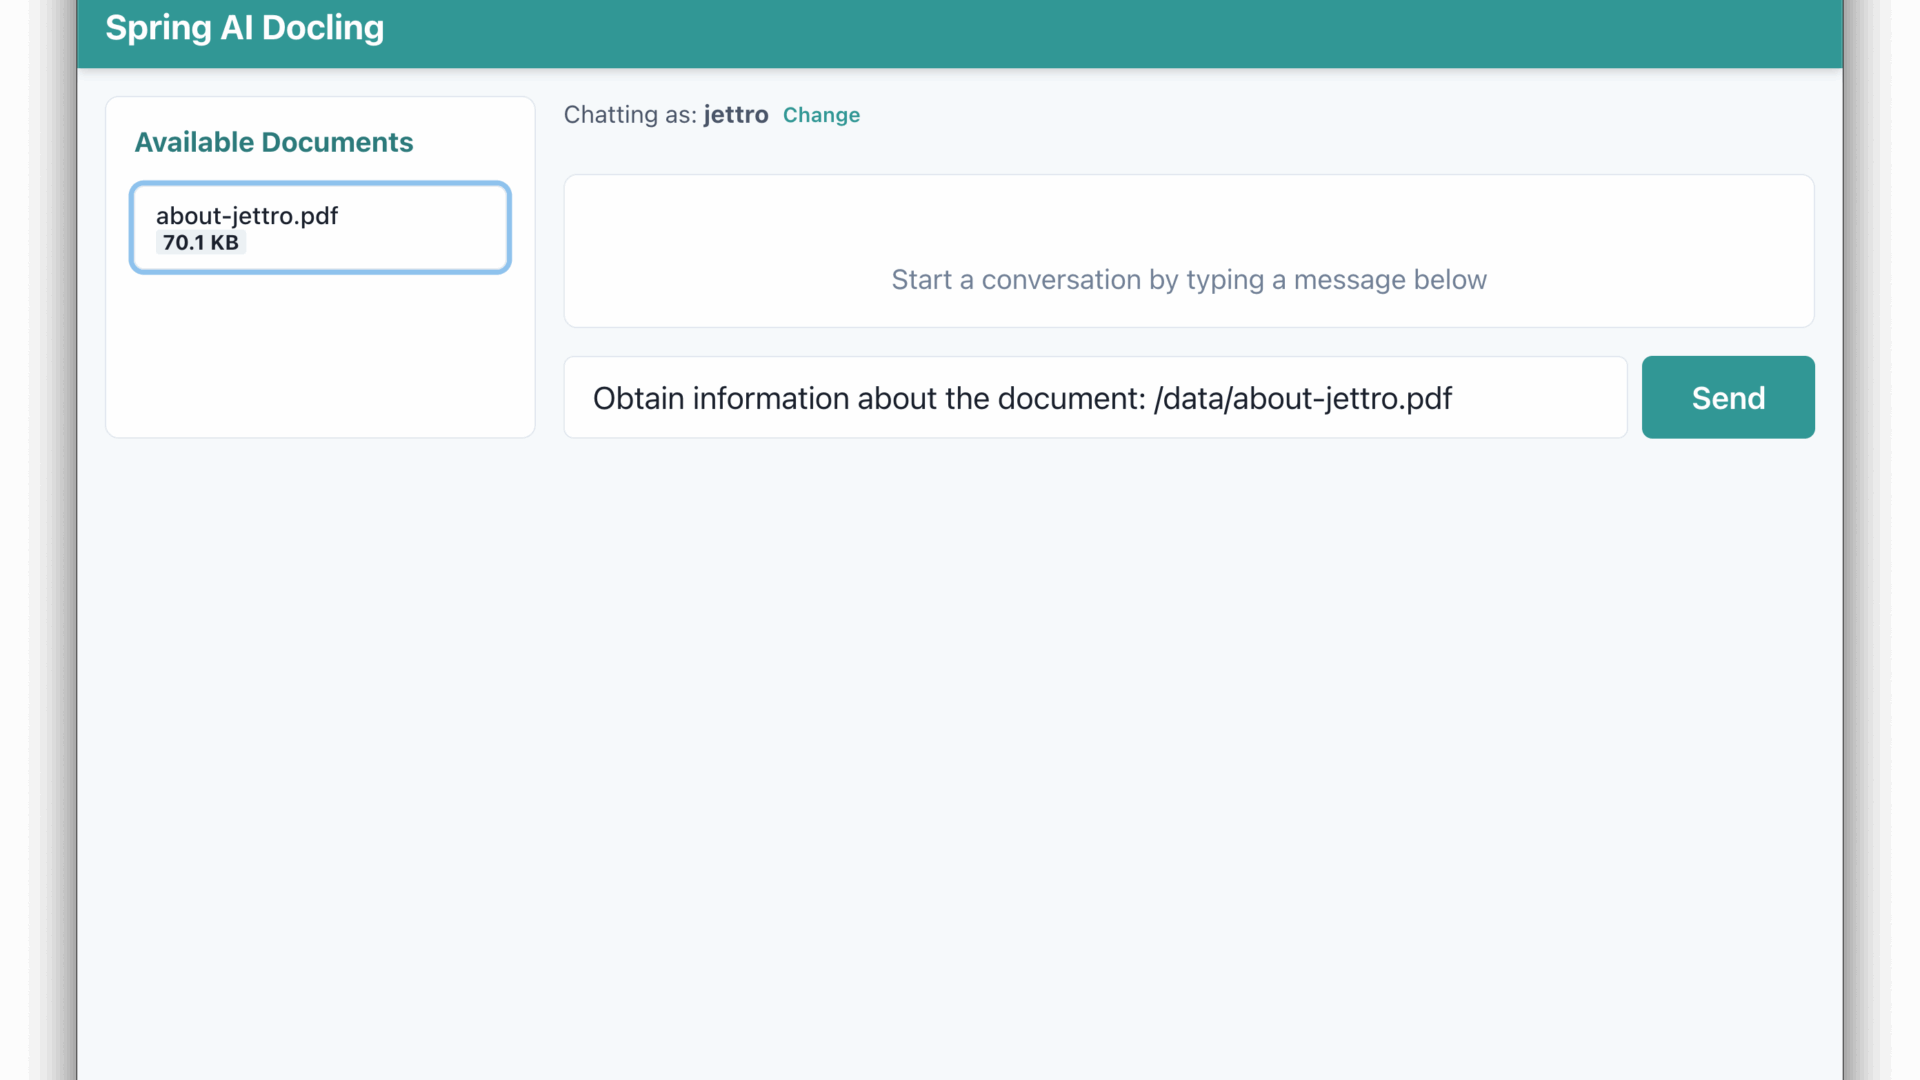
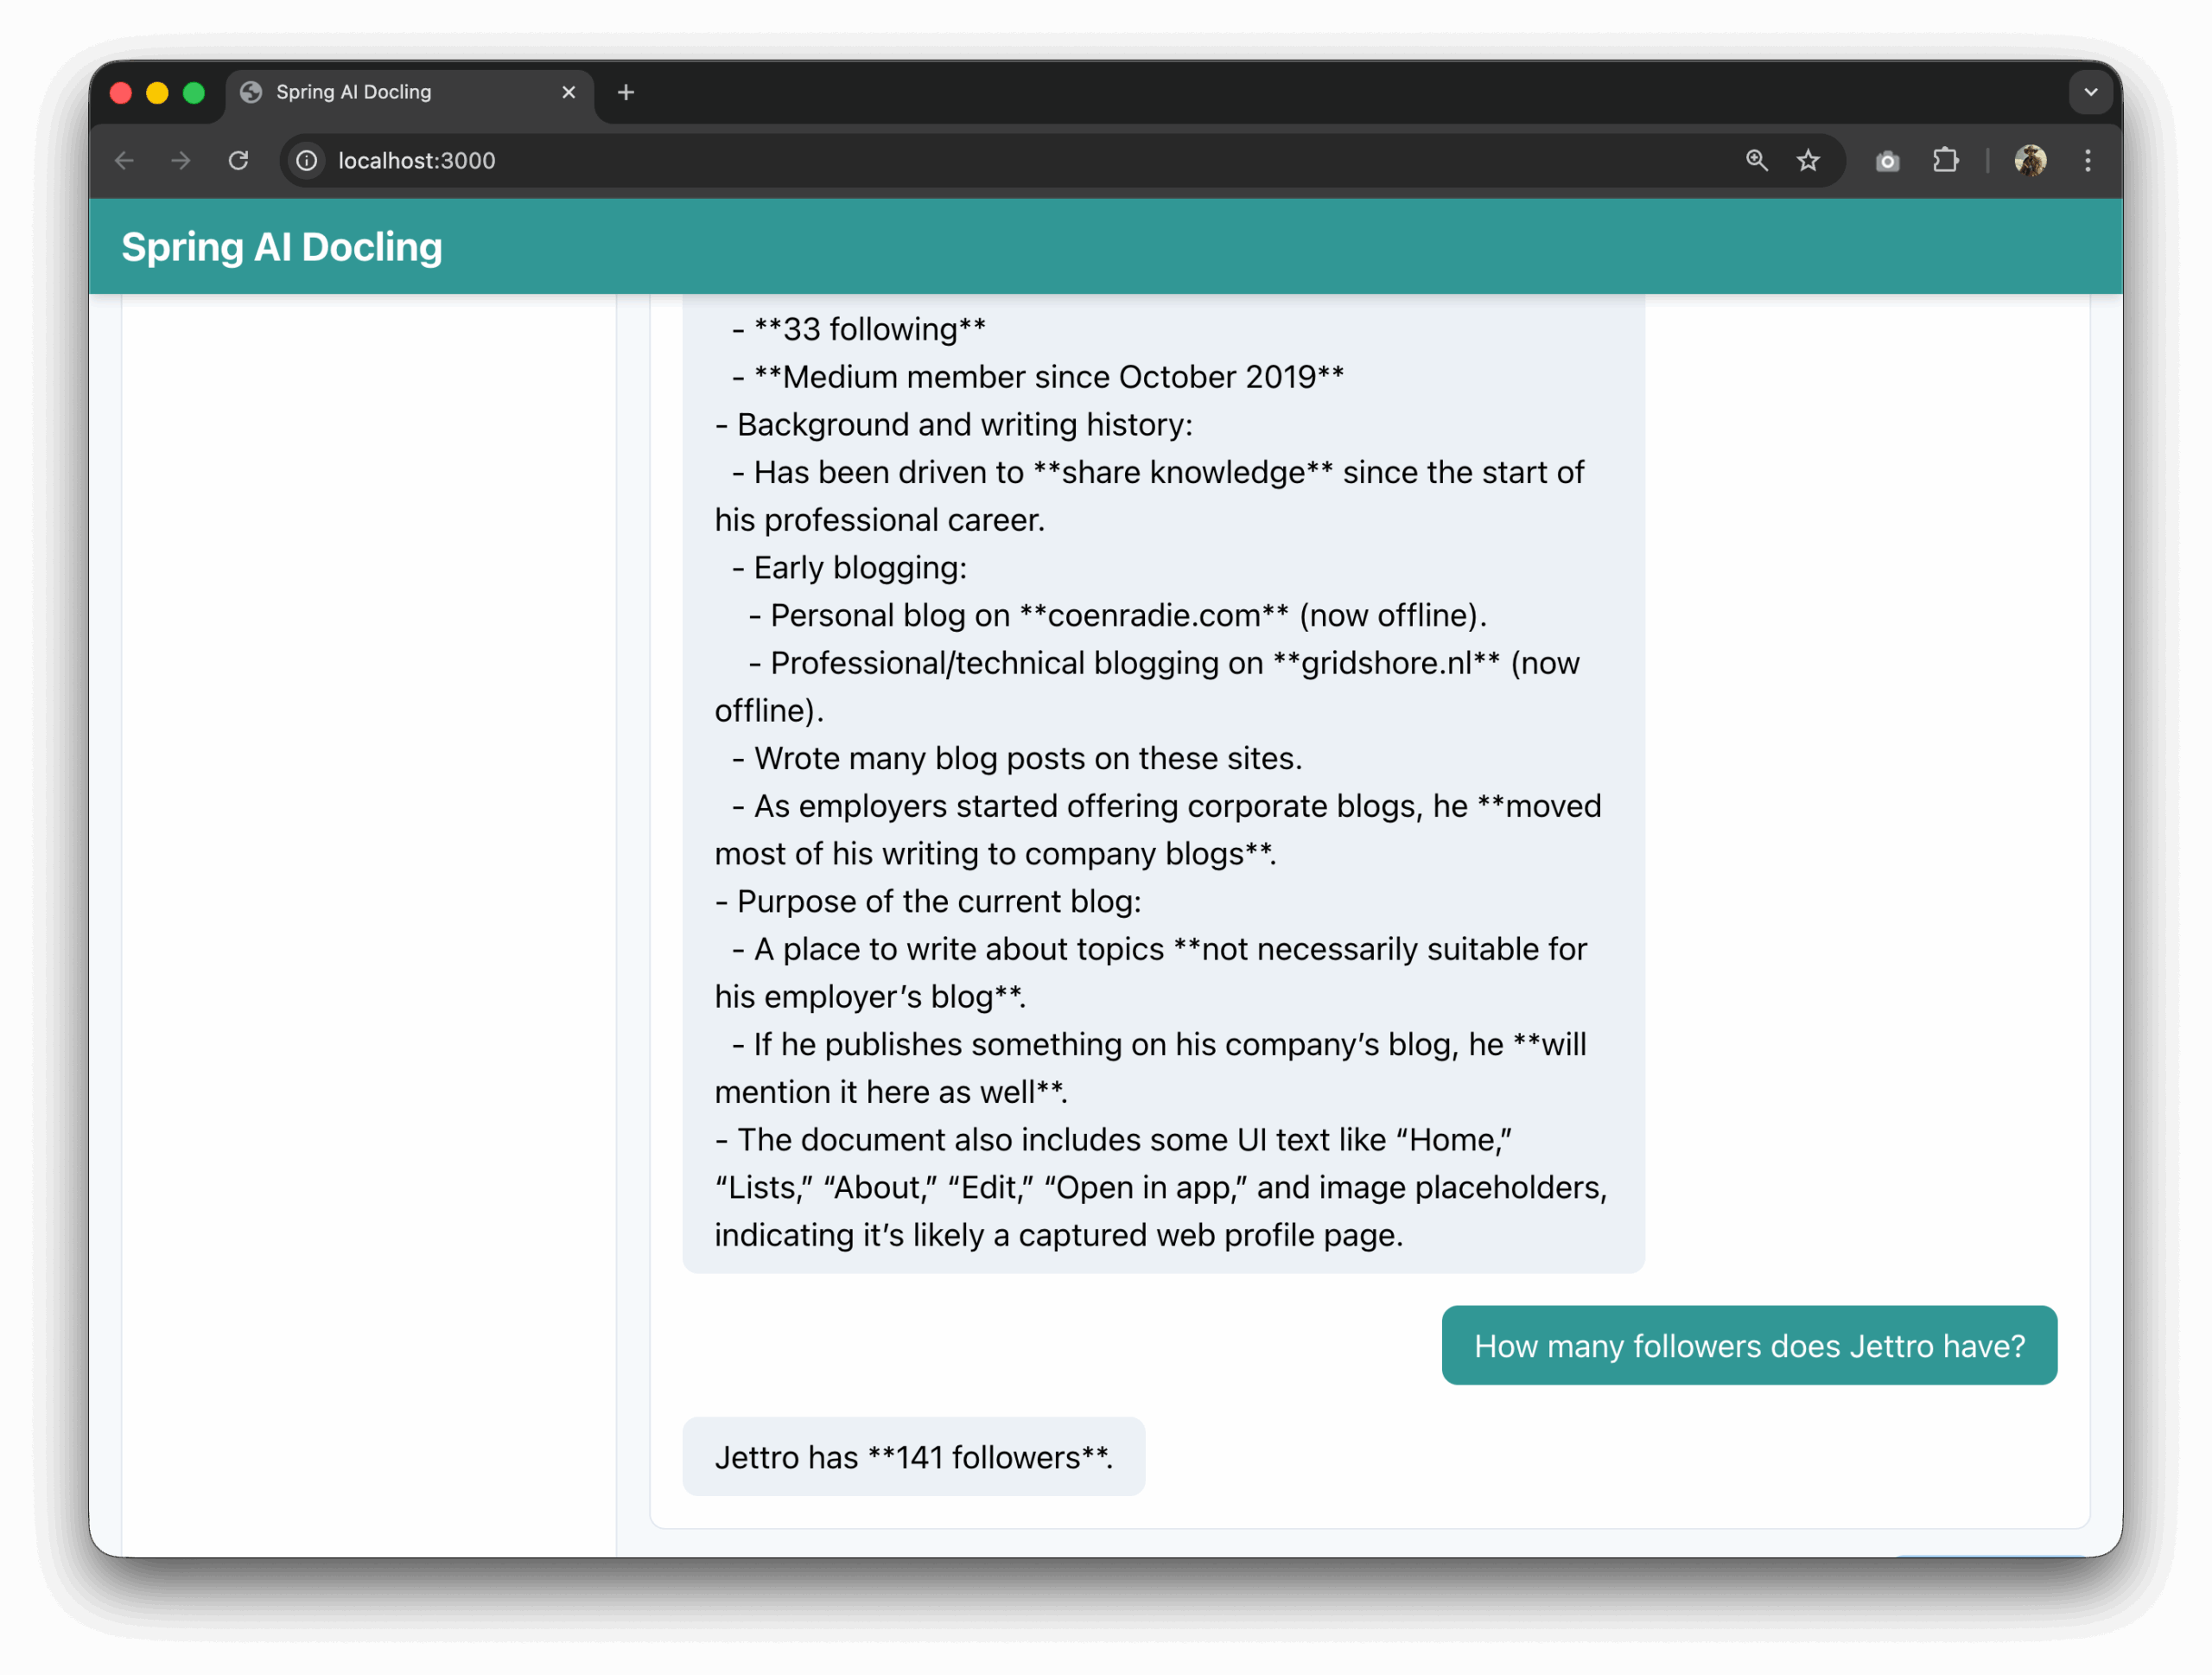
Creating the user interface
Of course, you can run everything using Curl or Postman. But that is no fun. I wanted a user interface to call the application. My tool of choice at the moment is Warp for this challenge. I start asking for functionality. For fun you can look at the prompts I used for the application.
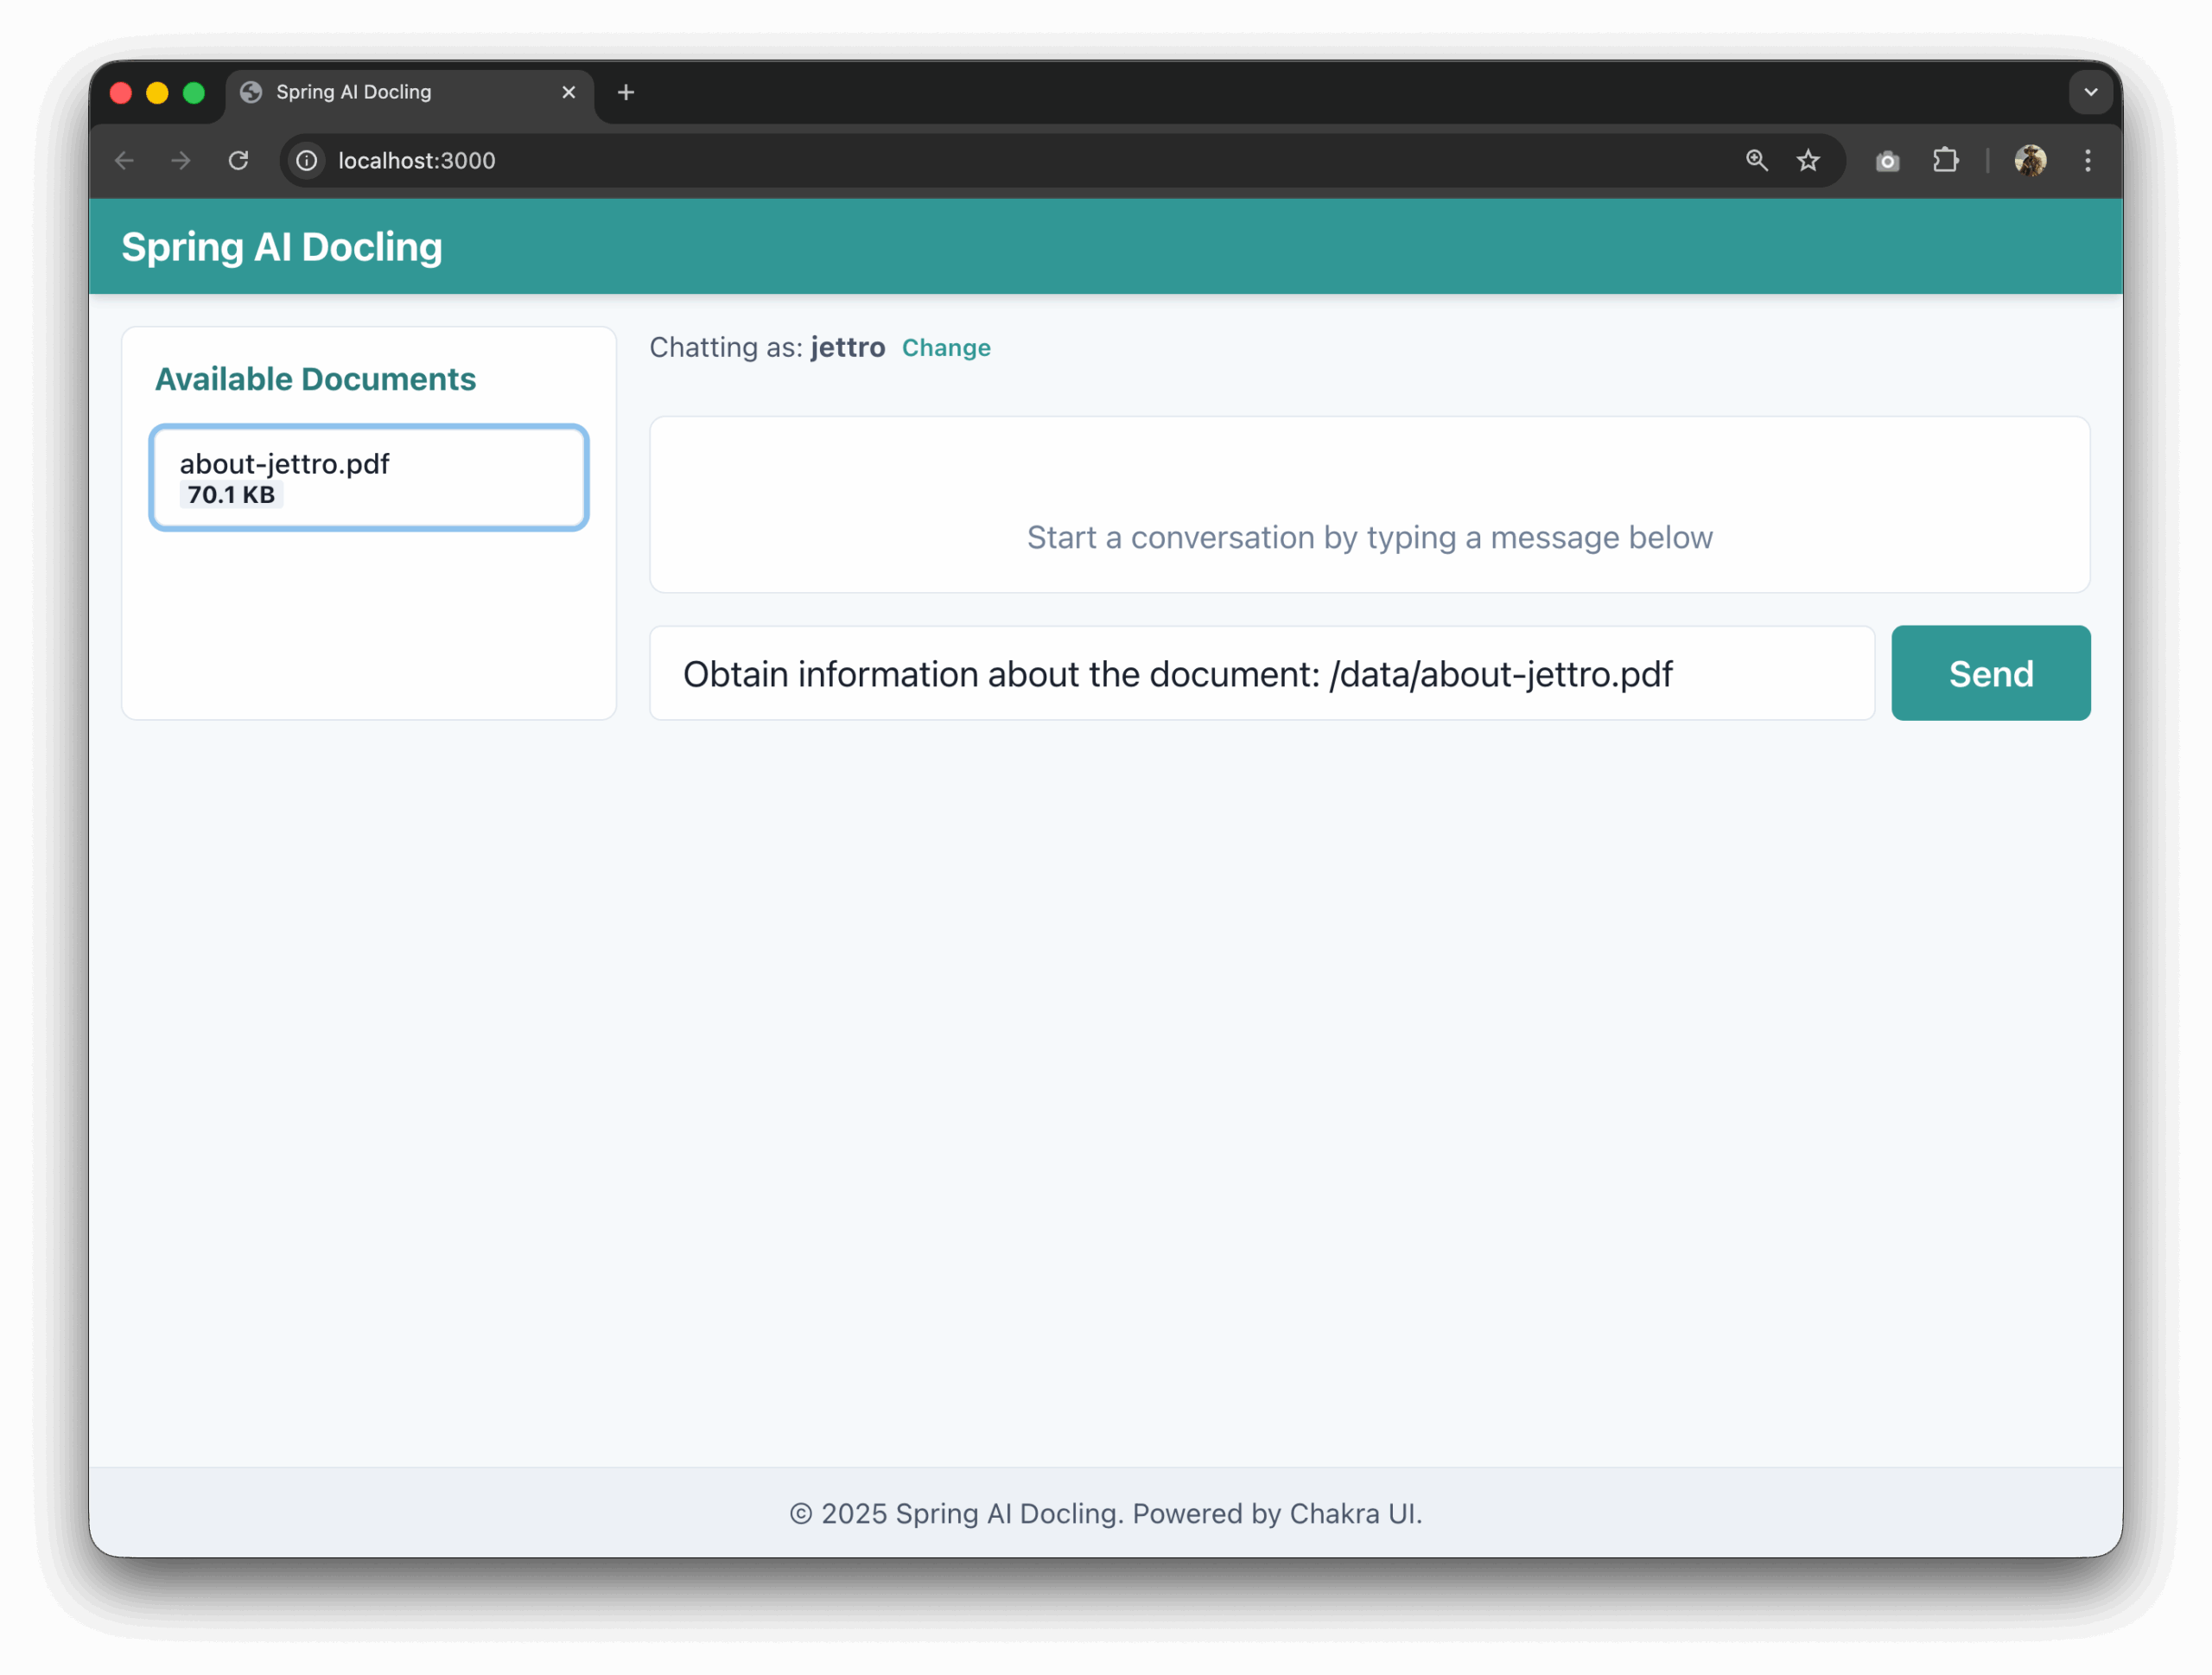
create a react based frontend with a navigation bar a footer and a typical layout for a chat page. Implement the frontend code using chakra-ui.com. Limit custom Javascript and styling. The frontend must call the Rest controllers from the spring boot project.
You have generated a UI in the frontend folder. But it is trying to do something with websockets and there must be some changes to the controller maybe for cors and csrf
Now I want to have a mechanism to enter my name. The name needs to be added to each request to the backend, or we need another mechanism to store the name in the session. I do need to have a way to change the name.
In the documents folder, there are documents that we can use. Add something to the backend project to create a list of files. Maybe add a config property to point to the folder. Then in the frontend I want to fetch the list and make each item clickable. If an item is clicked, add the name of the file to the user input. Also we need a system prompt that explains that files can be found in the /data folder. So we need to prepend that path to the file name.
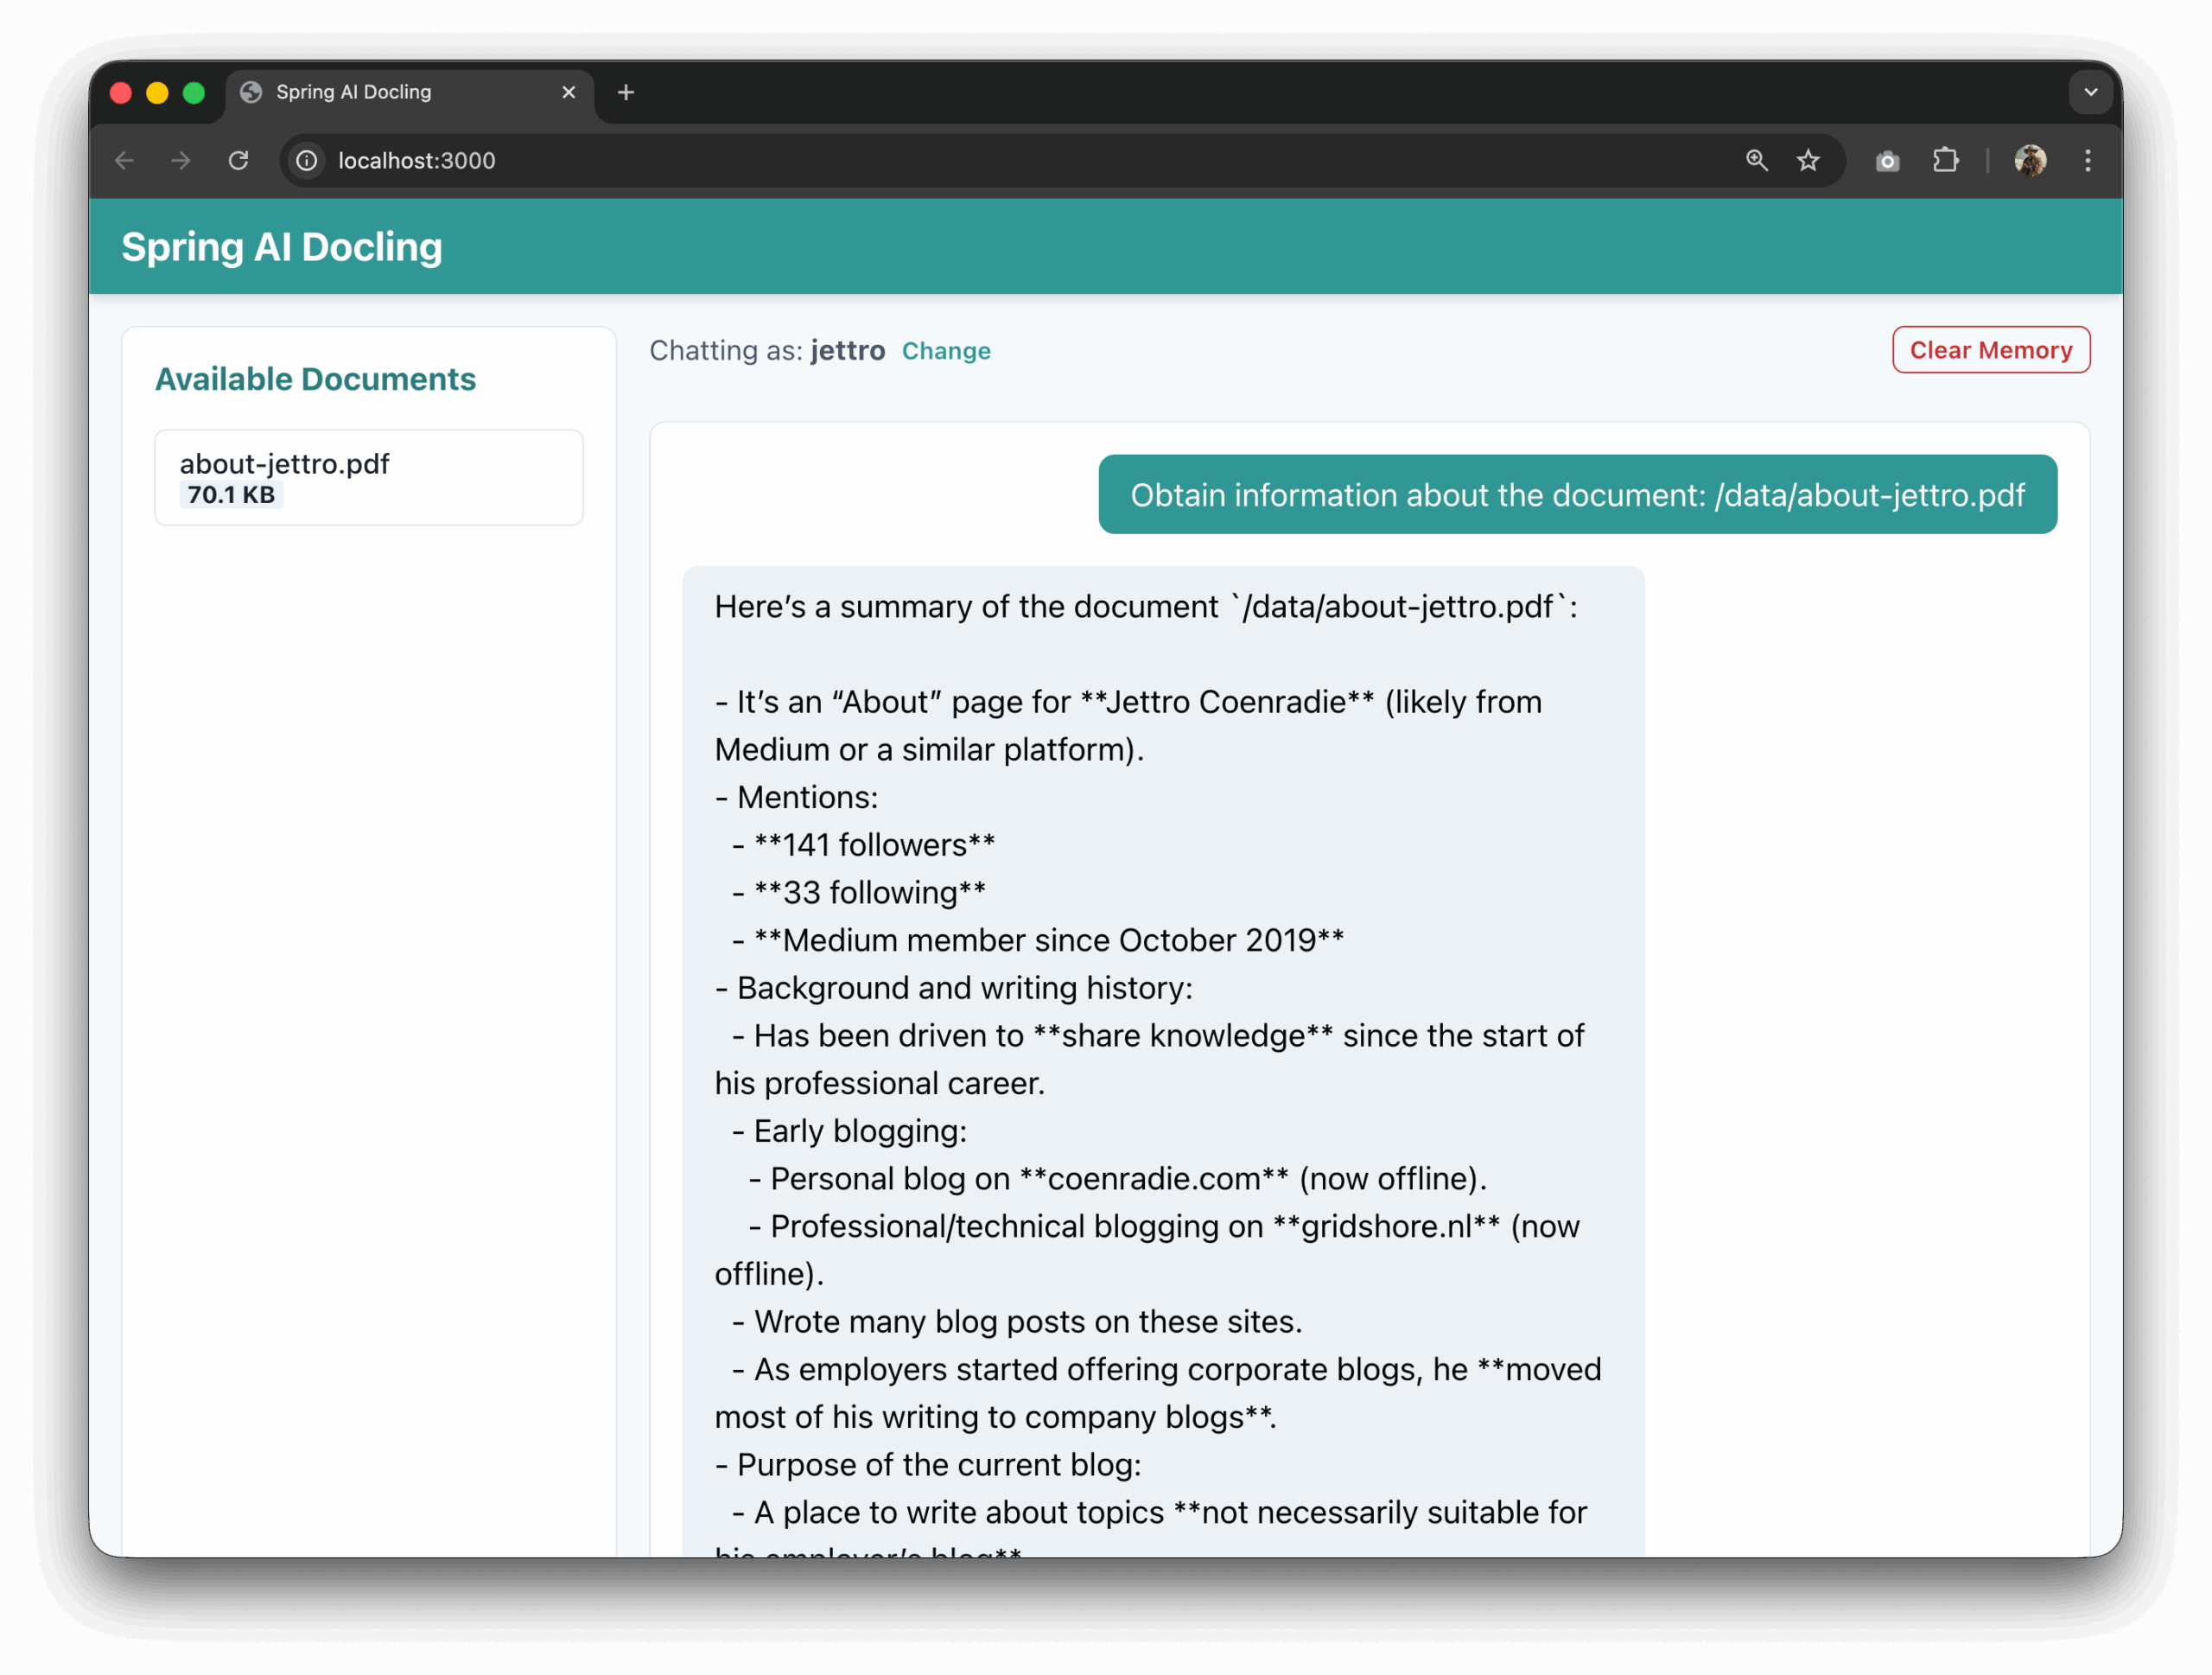
Can you add a button to initiate the clearing of the memory for the current user? The backend is already available under endpoint: “/user/clear-memory”
Is it possible to keep the header bar at the top of the screen. To keep it there if we start scrolling.

That is it. If you have come this far, you know how to write a Spring AI application connected to a Docling server through MCP to parse and question PDFs. I hope you liked it. Post a comment if you have a question.
The code repository
Want to know more about what we do?
We are your dedicated partner. Reach out to us.